Figma Tutorial - An Introduction to a Very Impressive UI Design & Prototyping Tool
November 02, 2021
Figma is quickly becoming a great alternative to popular apps such as Sketch and Adobe Experience Design (XD).
There's a couple reasons for this:
- It's free for individuals (and is dirt cheap for teams)
- It's web-based.
- It offers a downloadable native desktop app (it uses Electron to achieve this)
- It offers both UI & Prototyping, instead of just design.
- It has strong vector features.
It also just works. Other tools are lacking in quite obvious areas, but Figma is very well rounded. All of the typical keyboard shortcuts that you expect to be present in a UI design tool are there, and there are no major issues as far as I've seen.
In this Figma tutorial, I'm going to walk you through how to design a mobile app project.
Let's get started!
If you prefer watching a video..
Starting a Project
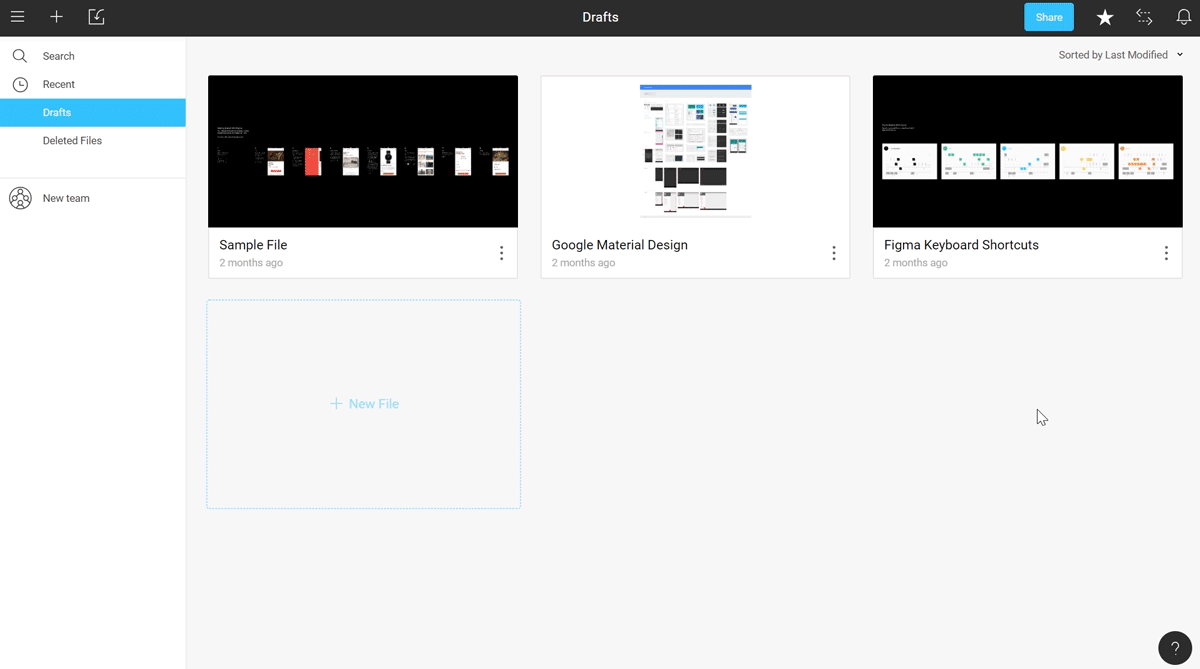
After you have created an account at Figma, you will be presented with the following dashboard that presents you with all of your projects:
Click the little + icon in the upper left corner of the top toolbar to create a new project.
This will present you with the following screen, where you will spend the majority of your time:
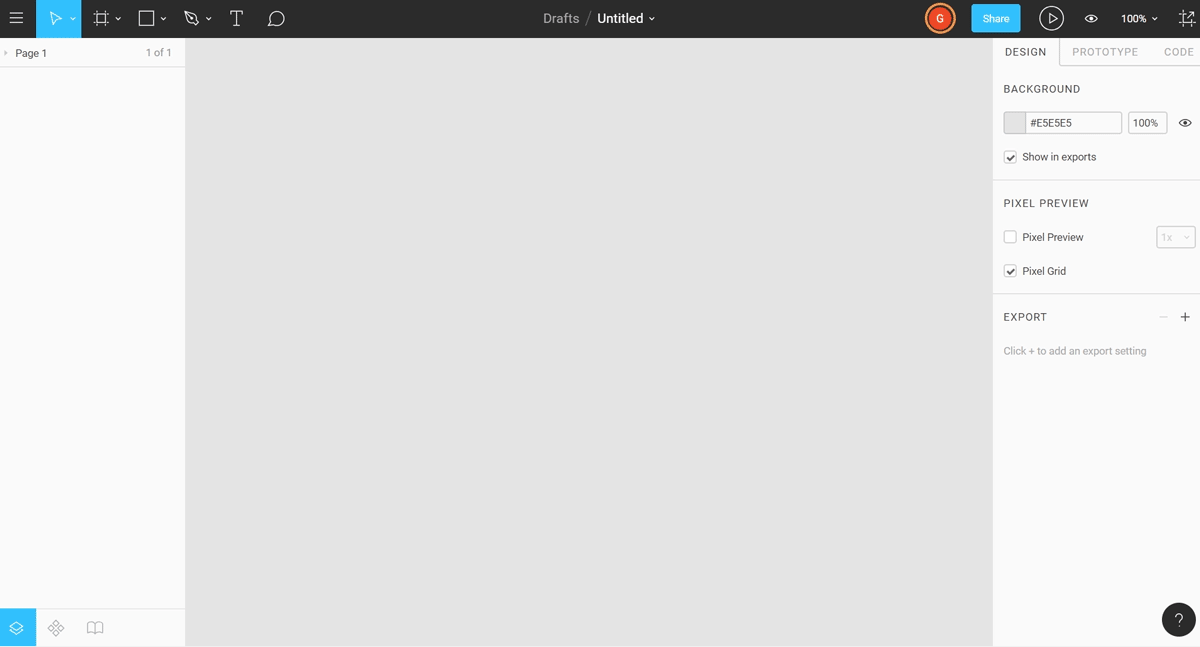
Before we begin, let's take a look at the setup of this user interface.
The Figma UI Explained
At the very top, we have a dark toolbar:

Going from left to right:
- The hamburger icon gives you access to a dropdown menu with a lot of different options, similar to a native desktop application.
- The select tool also comes with a scale tool with the dropdown arrow.
- The next icon is the artboard tool, which allows you to create new artboards that are either custom, or from a list of presets in the properties panel. The dropdown icon gives you access to a slice tool, which allows you to specify a region for exporting.
- The rectangle section provides you with predefined geometric shapes.
- The pen tool of course allows you to create custom shapes with anchor points, and it also comes with a pencil tool.
- The type tool.
- The chat icon allows you to leave location-specific messages for communicating ideas and/or providing feedback.
- The share button allows you to share the design and prototype with others.
- The play button allows you to use the design and prototype.
- The eye icon gives you access to some simple settings.
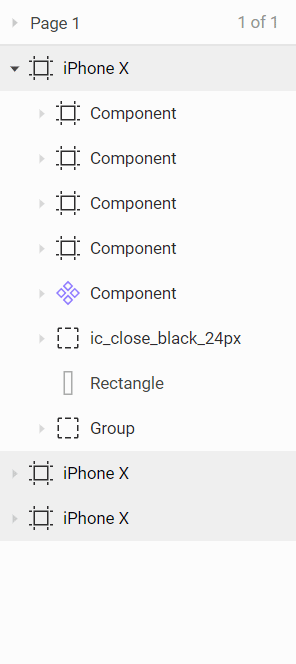
To the very left is your layers. When you have multiple artboards, it's grouped into those artboards as shown above. When expanded, you gain access to individual layers, groups, and components.
The empty gray section to the right is the canvas where your artboard and design will appear.
To the right is the properties panel. Depending on what is selected, the properties here will update. This gives you the ability to change colors, add effects, and more..
It's also tabbed, and includes a tab for Design, Prototype and Code. When you switch to Prototype, it allows you to create connections between elements of one artboard, to other artboards in your project. Code provides you with CSS properties based on the UI elements you select.
Establish an Artboard
An artboard is where you will place your design. You need to select the artboard tool from the toolbar (as described above) and you will be provided with a list of artboard presets, as shown below:
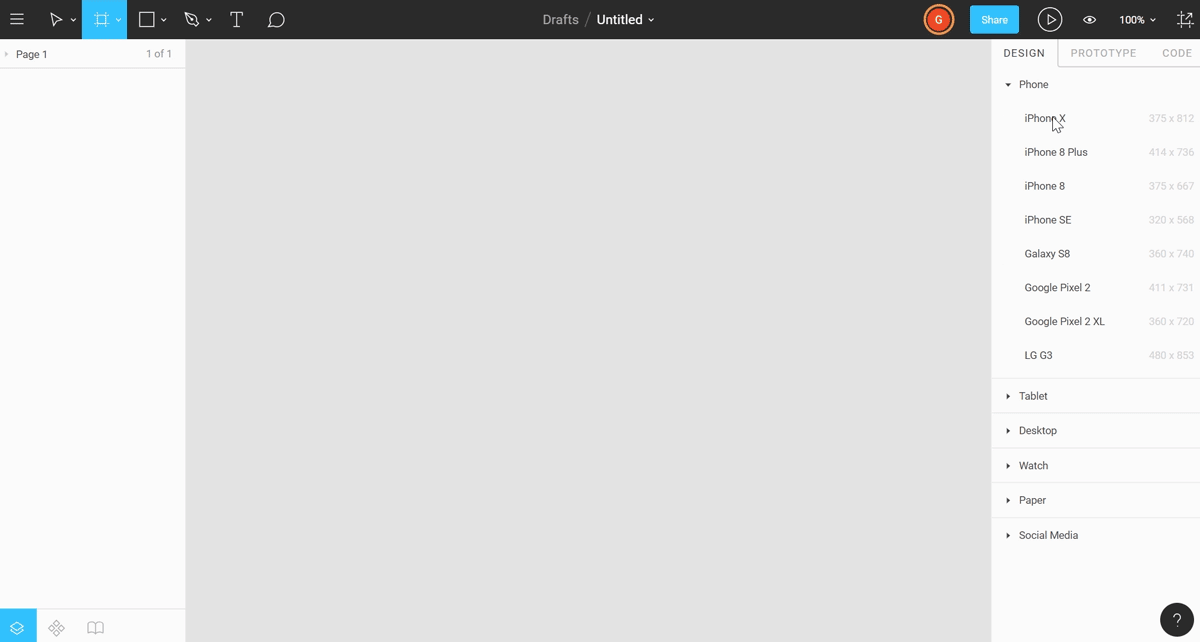
Figma provides you with plenty of presets, so in our case, we'll just choose the iPhone X preset. This will give you a new artboard on the canvas, from which you can start designing.
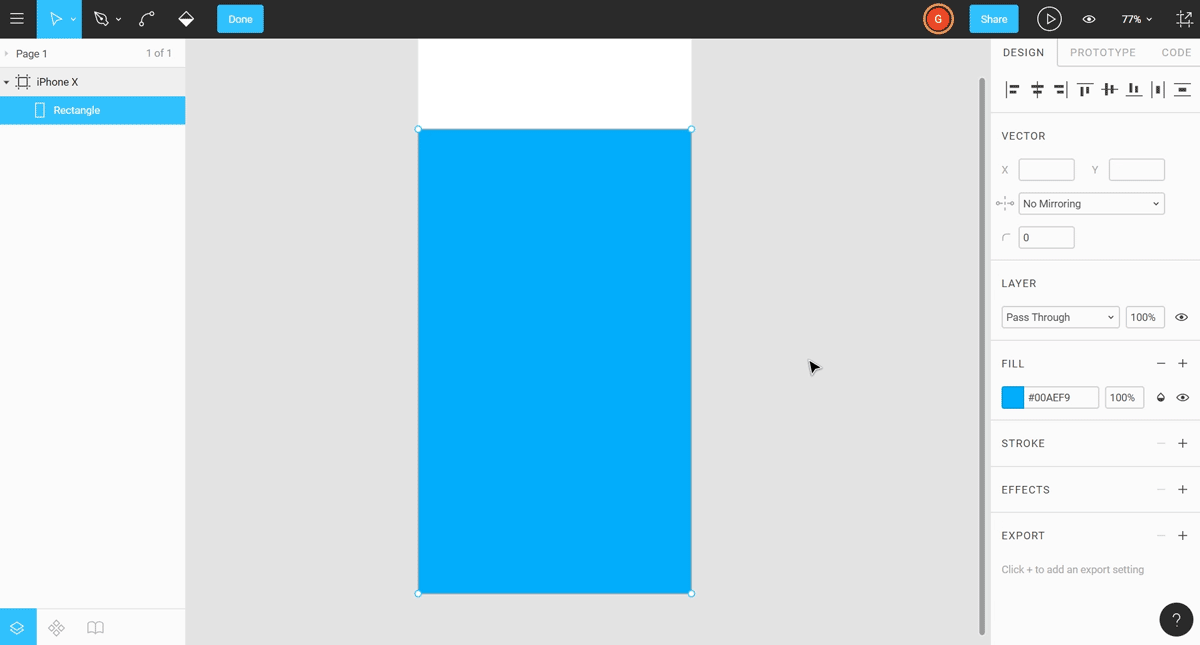
Next, use the rectangle tool to draw out a similar sized rectangle as shown below, and then in the properties panel to the right, give it a similar blue color for the background:
Modifying Shapes in Figma
If you double click on this new shape, you will be taken into edit mode, where you gain access to the anchor points. You can move around the anchor points, which will allow you to change the shape even more so.
You can also select the pen tool which in this edit mode, and you can add an anchor point onto an existing shape:
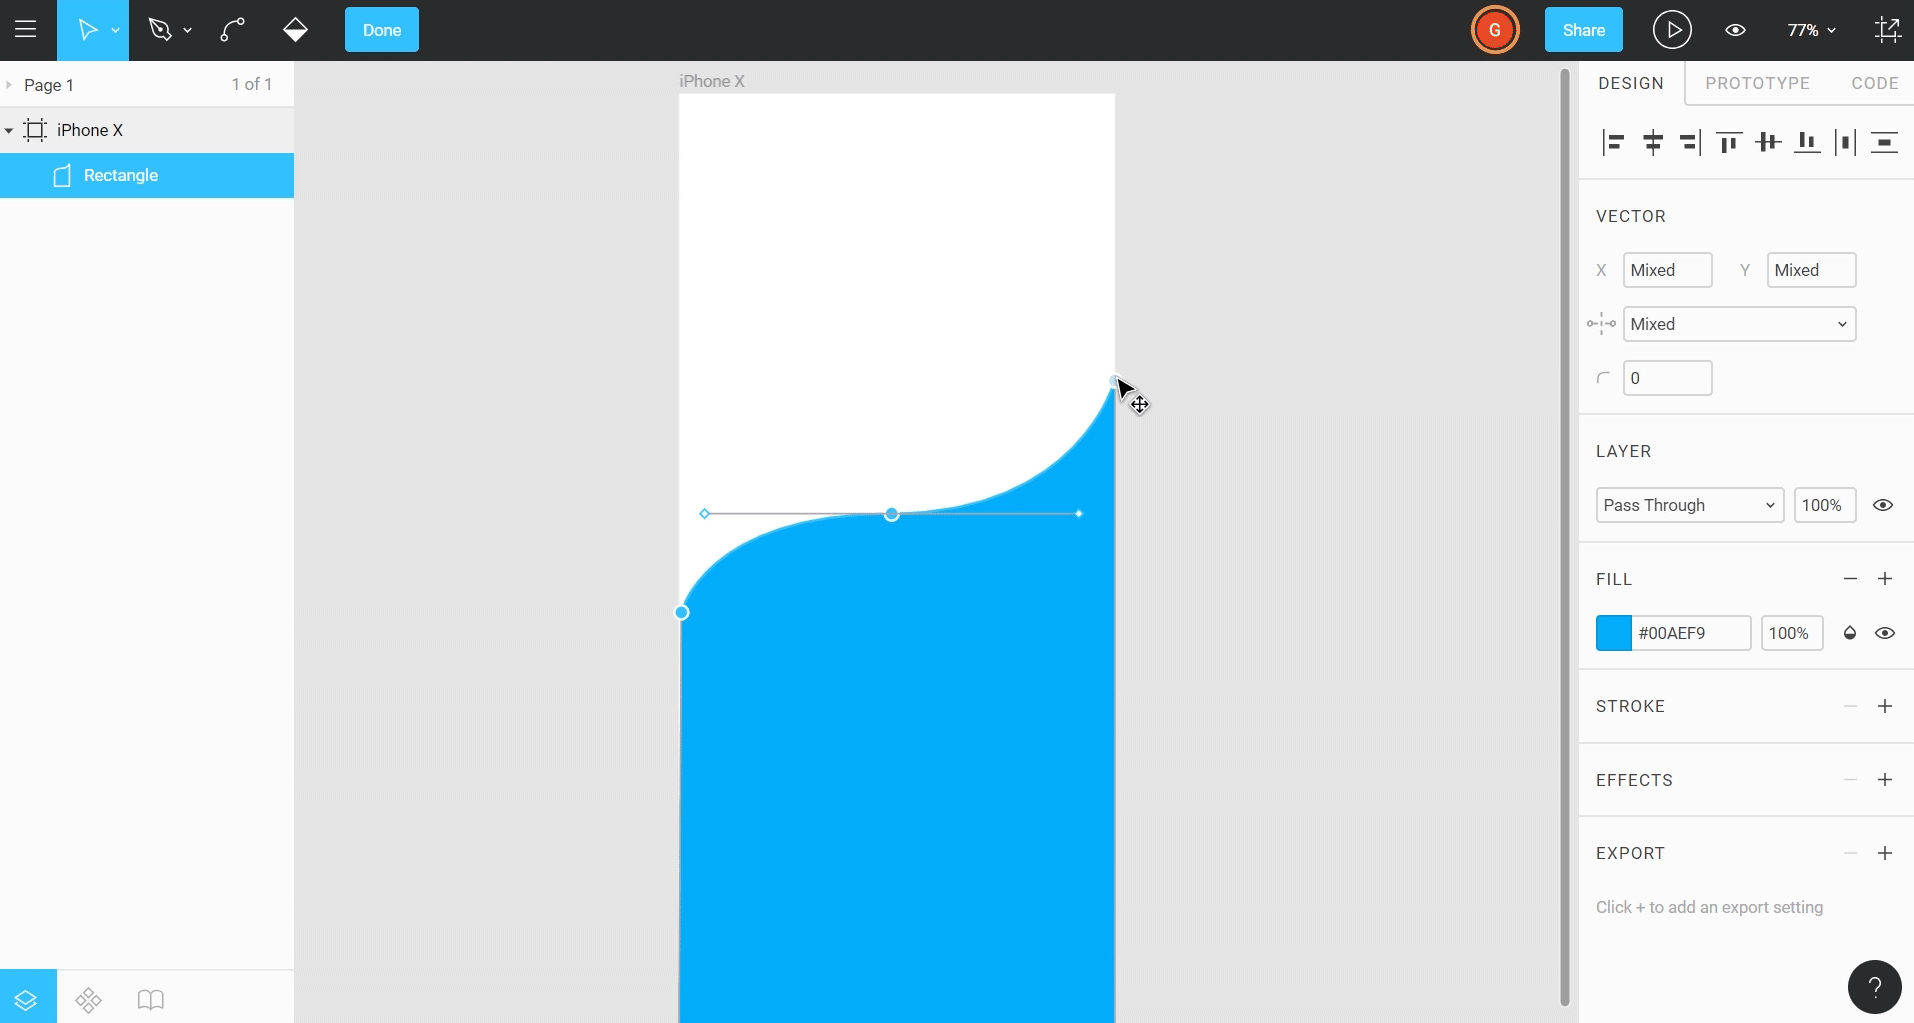
You can even use the bend tool for creating bezier curves on the anchor points, as shown above.
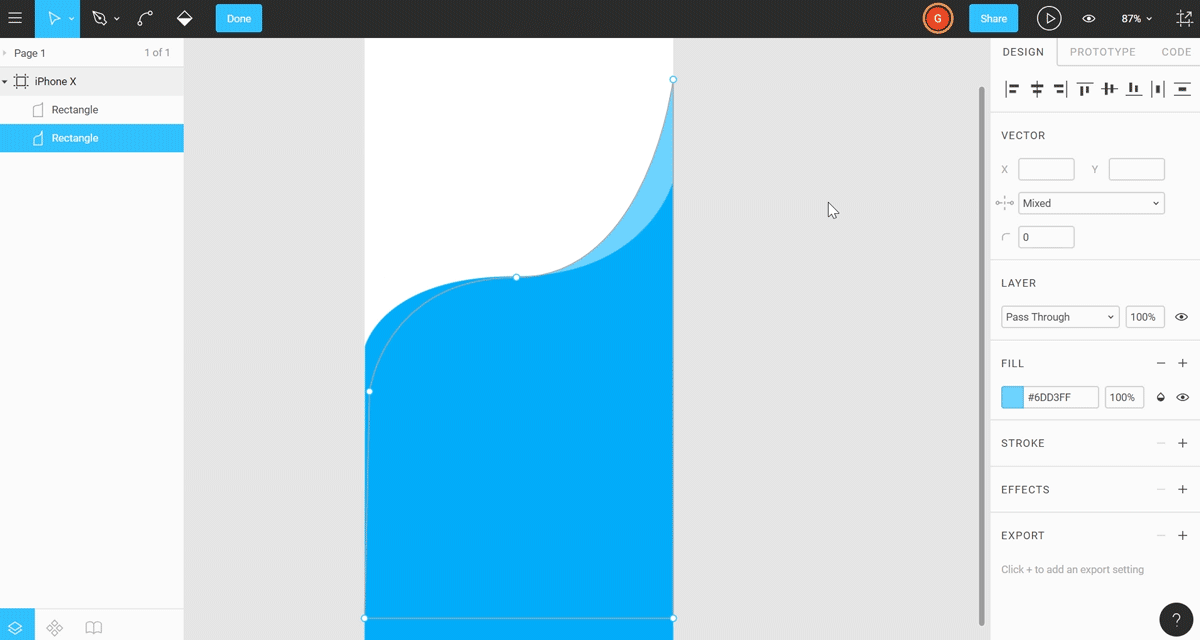
Duplicating in Figma
With our current shape selected, simply hit CTRL-D to duplicate the shape. You can also CTRL-C and CTRL-V (copy and paste) for the same behavior.
Select the original (the layer beneath the duplicated layer) and move it up with your keyboard arrow key and change the fill to a lighter blue. Also, double click on it to gain access to the anchor points and move the right anchor point up slightly, and the very left anchor point down to where you can't see it anymore:
Union, Subtract, Intersect & Exclude Selections
When you select more than 1 object at a time, you can use these tools to manipulate the objects based on where they're overlapping each other. For instance, if you wanted to subtract an object from another object, you would select both objects holding shift or CTRL, and select Subtract Selection from the top dropdown menu in the toolbar:
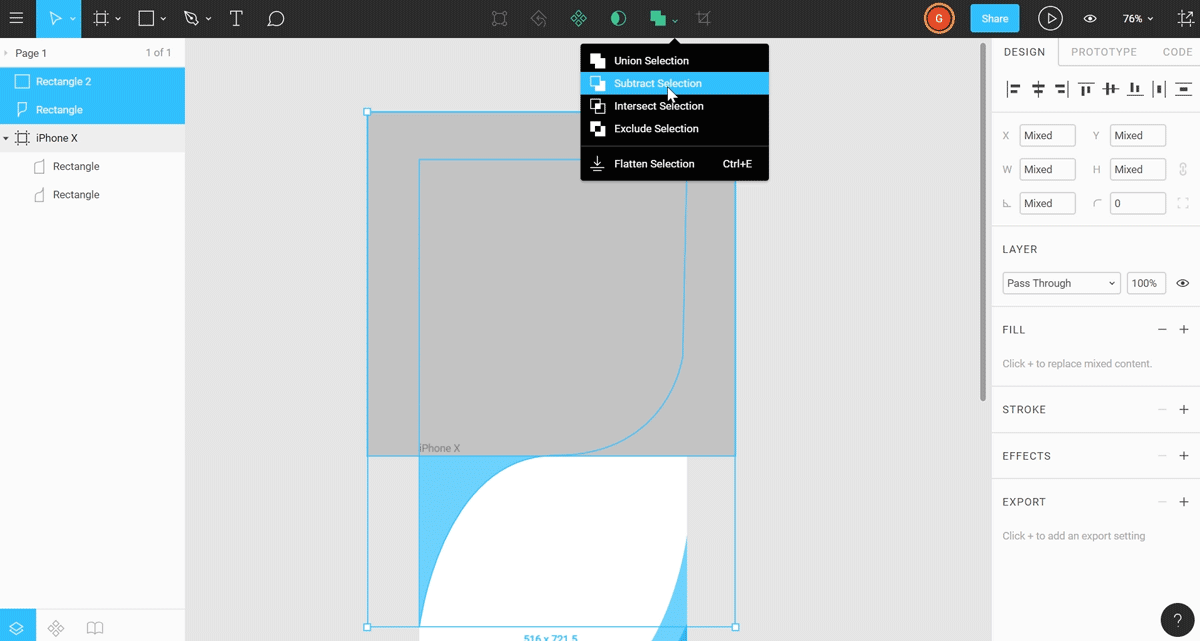
We're not going to need this for our project, but you get the idea!
Importing SVG's into Figma
One handy feature is the ability to simply drag and drop SVG files from your desktop or folders, onto your canvas inside of Figma:
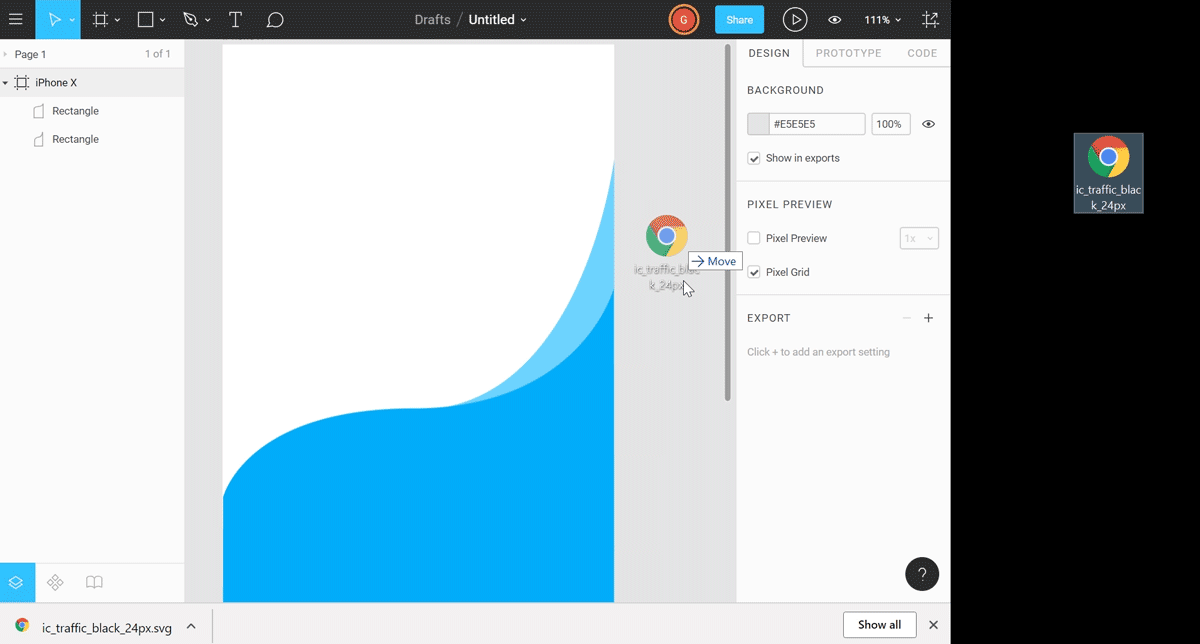
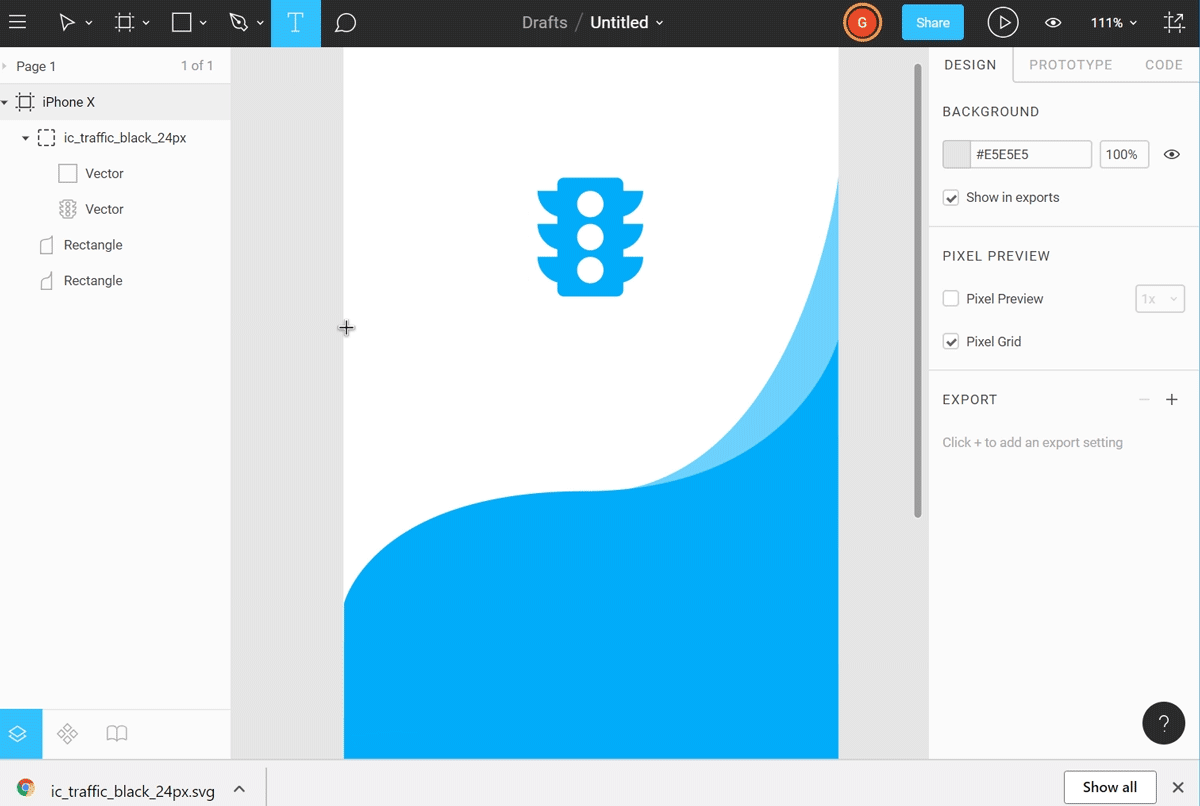
This will provide you with a fully editable SVG file:
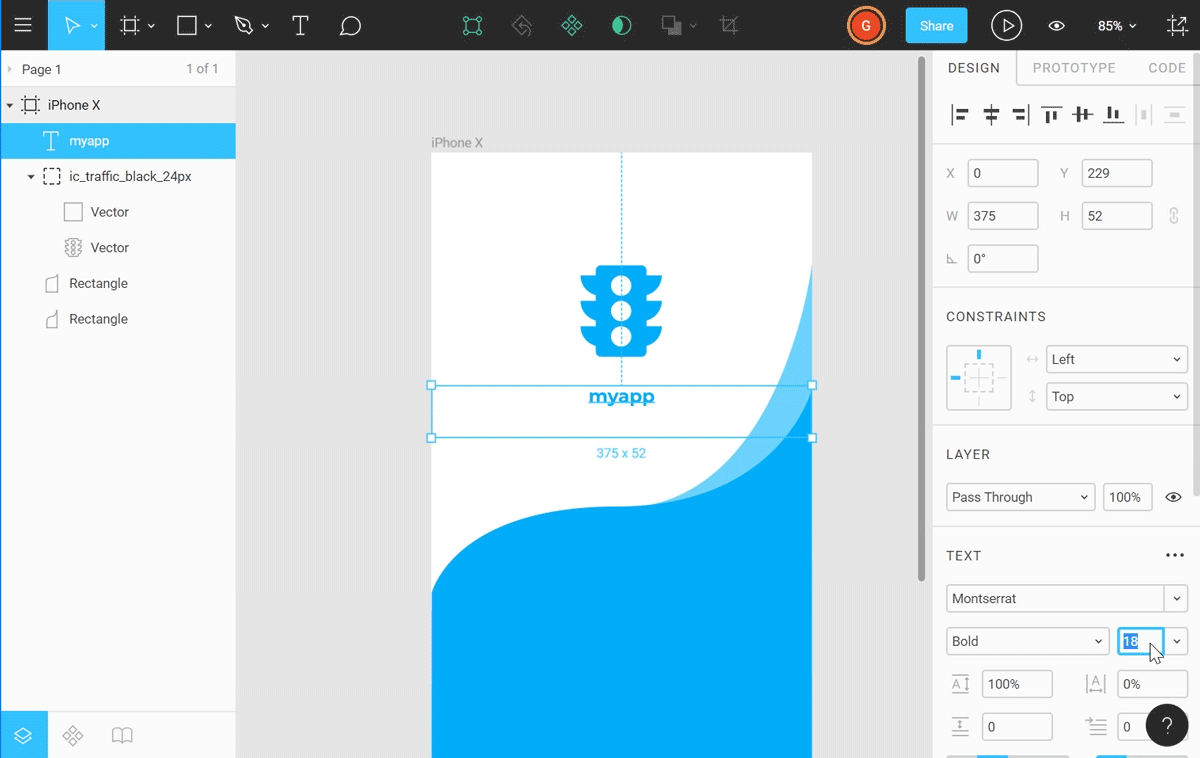
The Figma Type Tool
The type tool in Figma performs like any other full-fledged design app. You can left-click once to plot type on the artboard, or left click and drag out a text area where the text will wrap.
Figma uses Google Web Fonts, which provide you with a quick and easy way to access commonly used web fonts in your project.
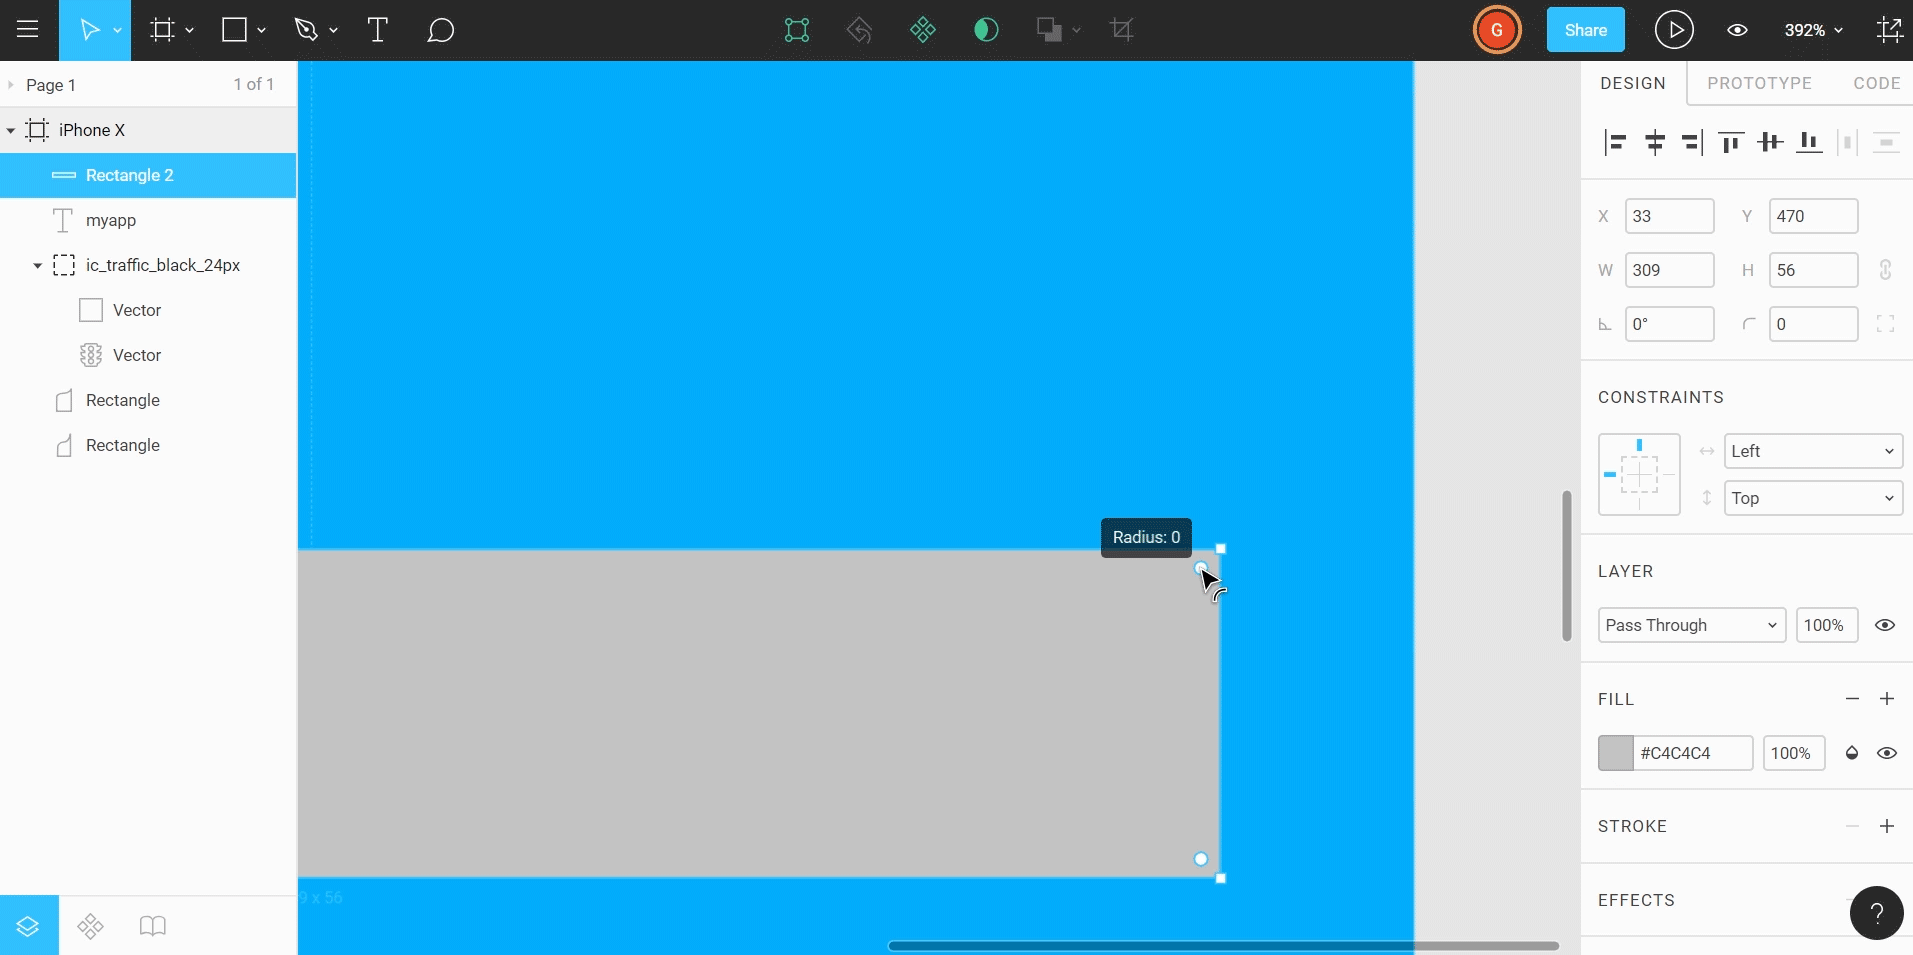
Rounded Corners in Figma
To access rounded rectangles and corners in Figma, place a rectangle or other polygon shape and zoom in close enough (CTRL-Mouse Wheel) and you will see circles next to the corners, which you can drag to affect the corner radius:
Drop Shadows and Other Effects in Figma
Duplicating Artboards in Figma
Select the name of the artboard and hit CTRL-D. Simple, huh?! This will create an exact duplicate, positioned to the right of the original artboard. It will also show up as a new artboard in the layers panel on the left.
From here, you can begin to add or remove UI elements as needed.
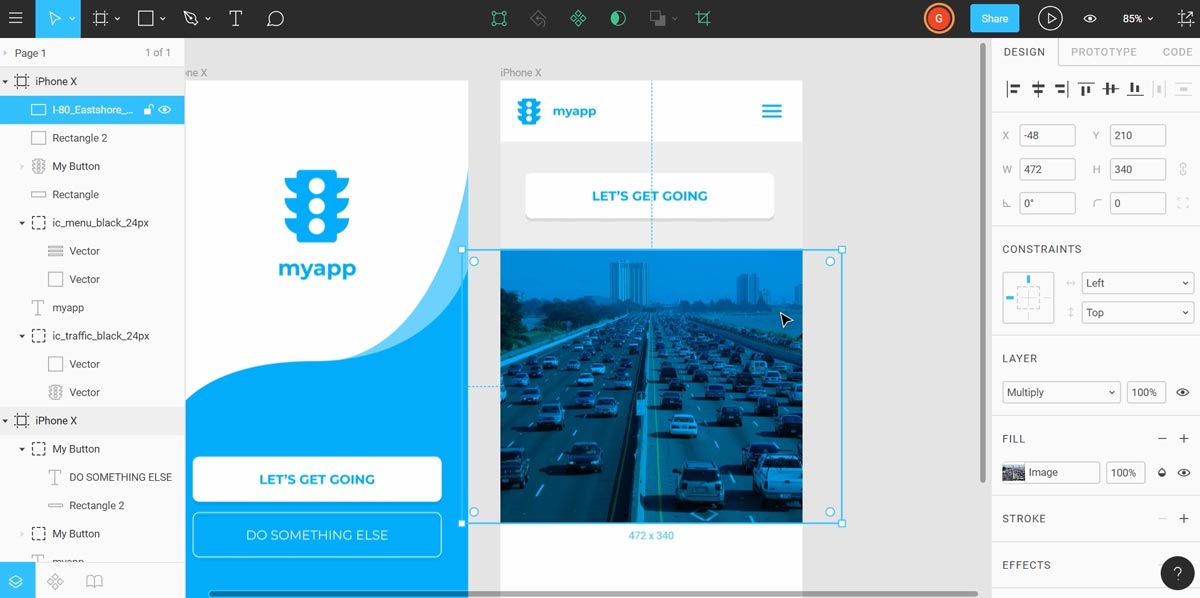
Importing Photographs in Figma
Just as with SVG graphics, you can also drag and drop photograph files (JPG's and other bitmap files) onto the canvas, as shown below:
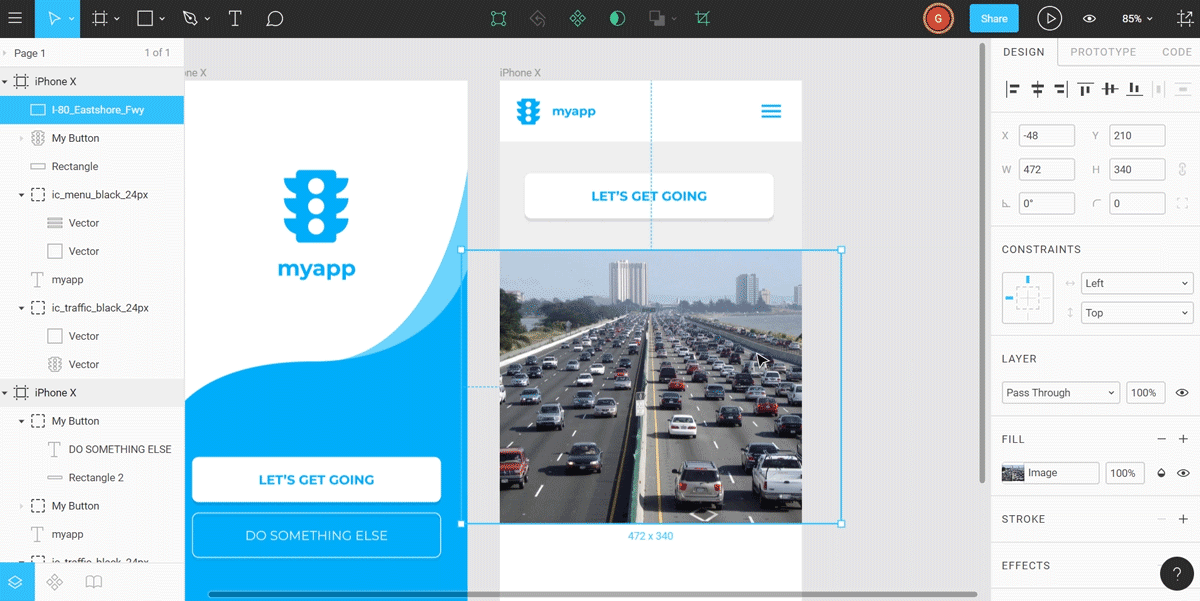
Of course, this looks rather ugly, so you can also use the power of layer blend modes to change the look of objects and photographs.
Layer Blend Modes in Figma
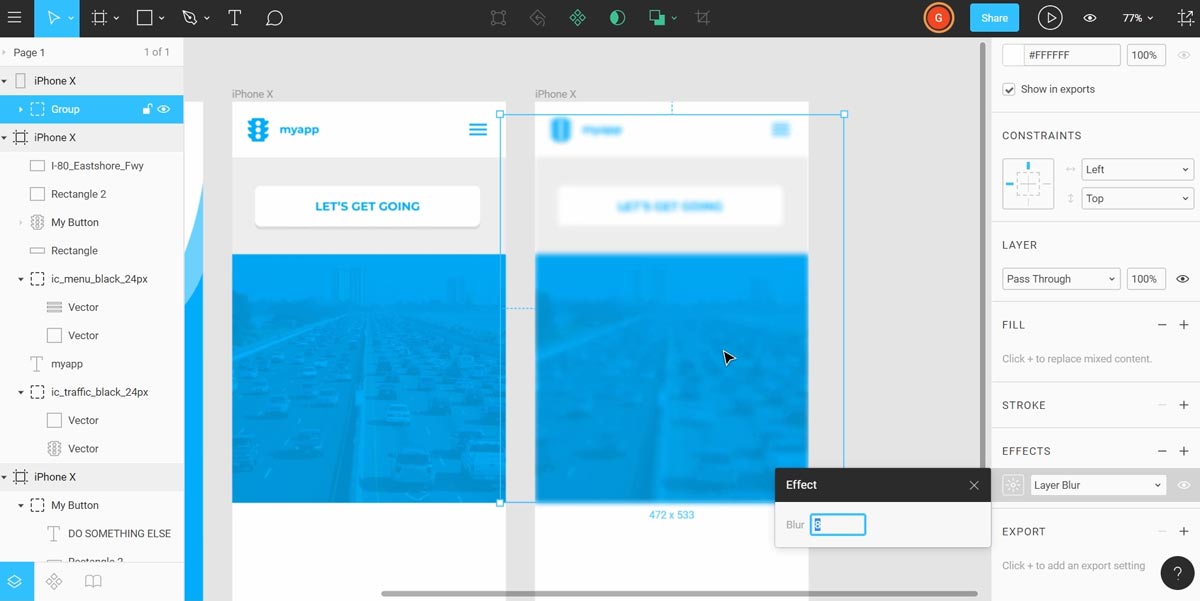
Using the example above with the traffic photograph, if you create a rectangle the same size of the photograph that's shown, and place it beneath the traffic layer in the layers section, and make it a blue color, you can then change the blend mode of the traffic layer.
This will change the appearance of the traffic photograph, as shown below:
In this example, it's a blend mode of Multiply - Though, it would be best to also decrease the opacity of the fill so that it doesn't contrast so much.
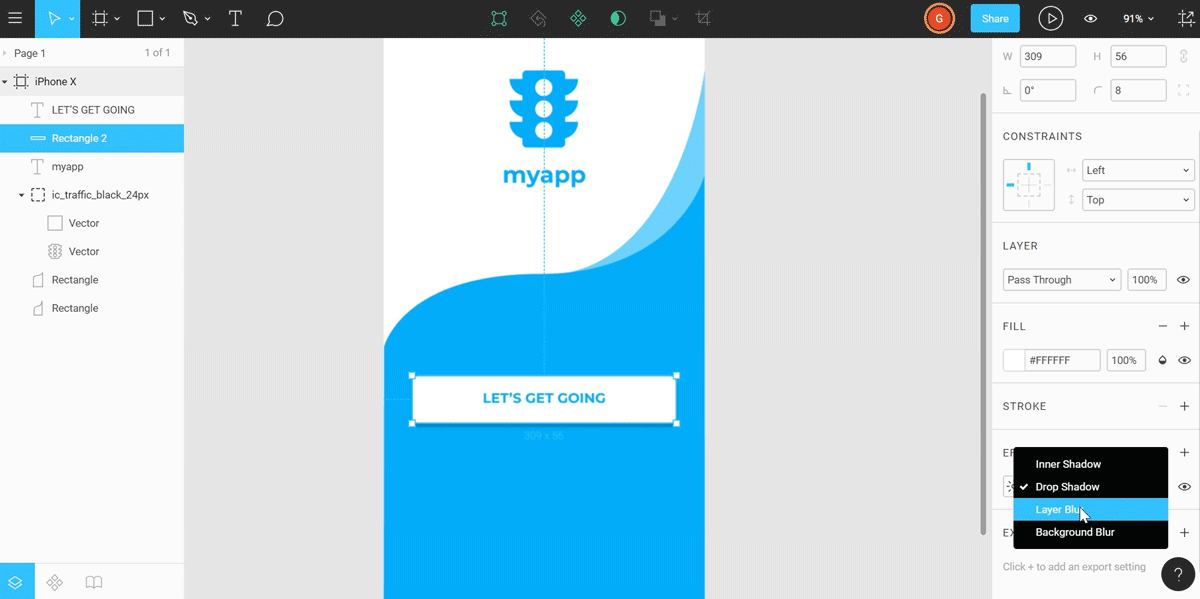
Blurs in Figma
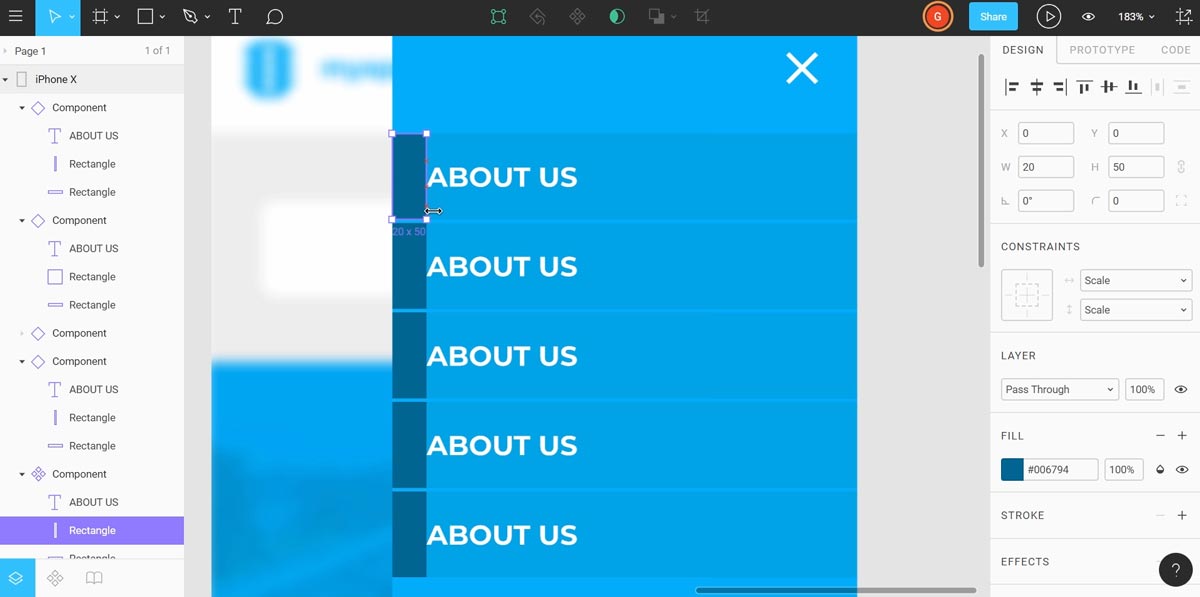
Let's say for instance we want to create a third artboard that will show a navigation when a user clicks the hamburger icon, and we want to blur out the UI beneath the navigation.
We can group together the layers that we want to blur, and then apply an effect of Layer Blur as shown below:
Figma Components
Components in Figma allow you to control commonly re-used UI elements. You can make a change to a single instance of a UI element in one area, and it will update all of the other instances automatically.
Simply select the layers that you want to make as a part of the component, and click on the component button in the toolbar (or right click and choose Create Component).
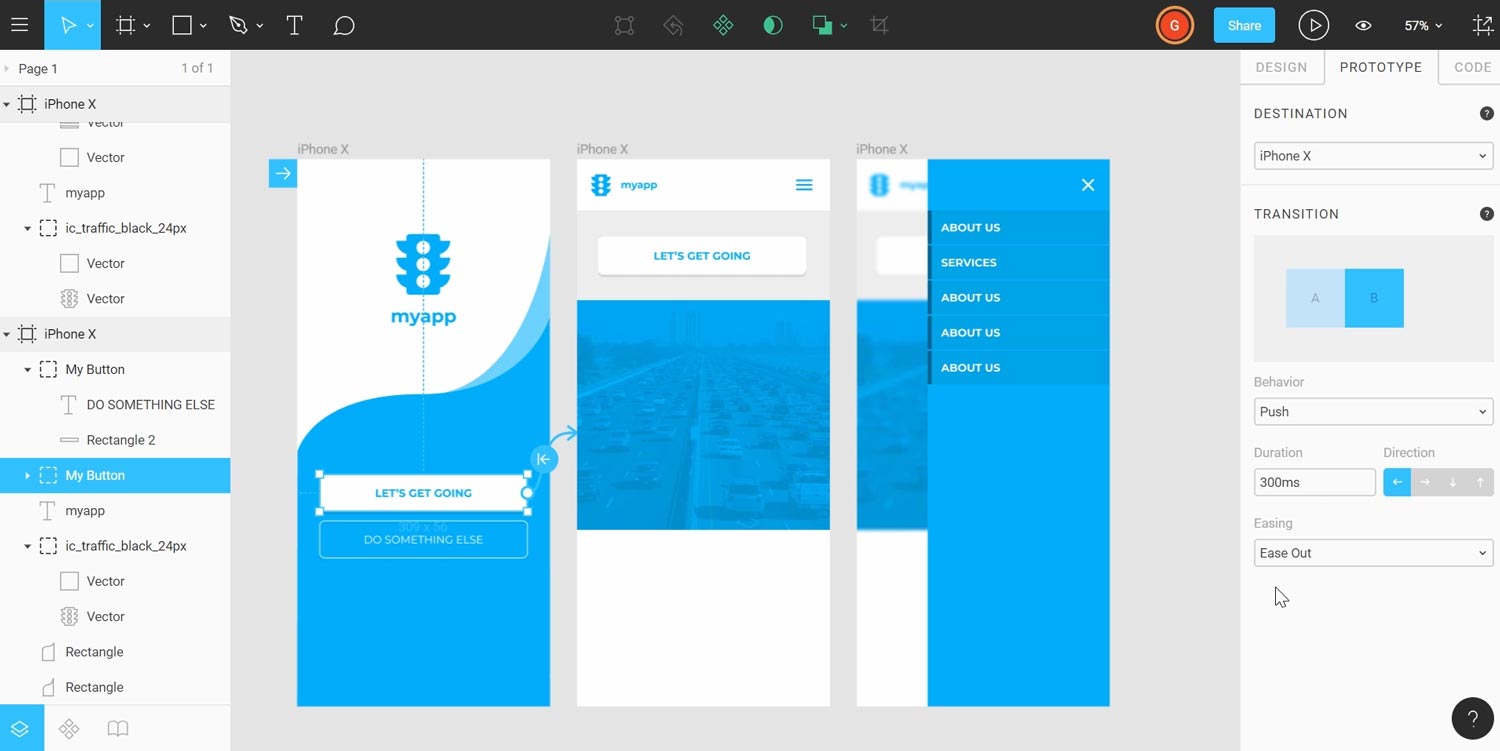
Prototyping in Figma
Once you have your design and artboards ready, click on the Prototype tab in the properties panel to the right.
When you select an element, like a button, on the right side of the selection is a circle. You can drag this over to whichever artboard you want the prototype to be directed towards when a user clicks on said element.
Once you create a connection, you can then specify the behavior, duration, direction and easing in the properties panel:
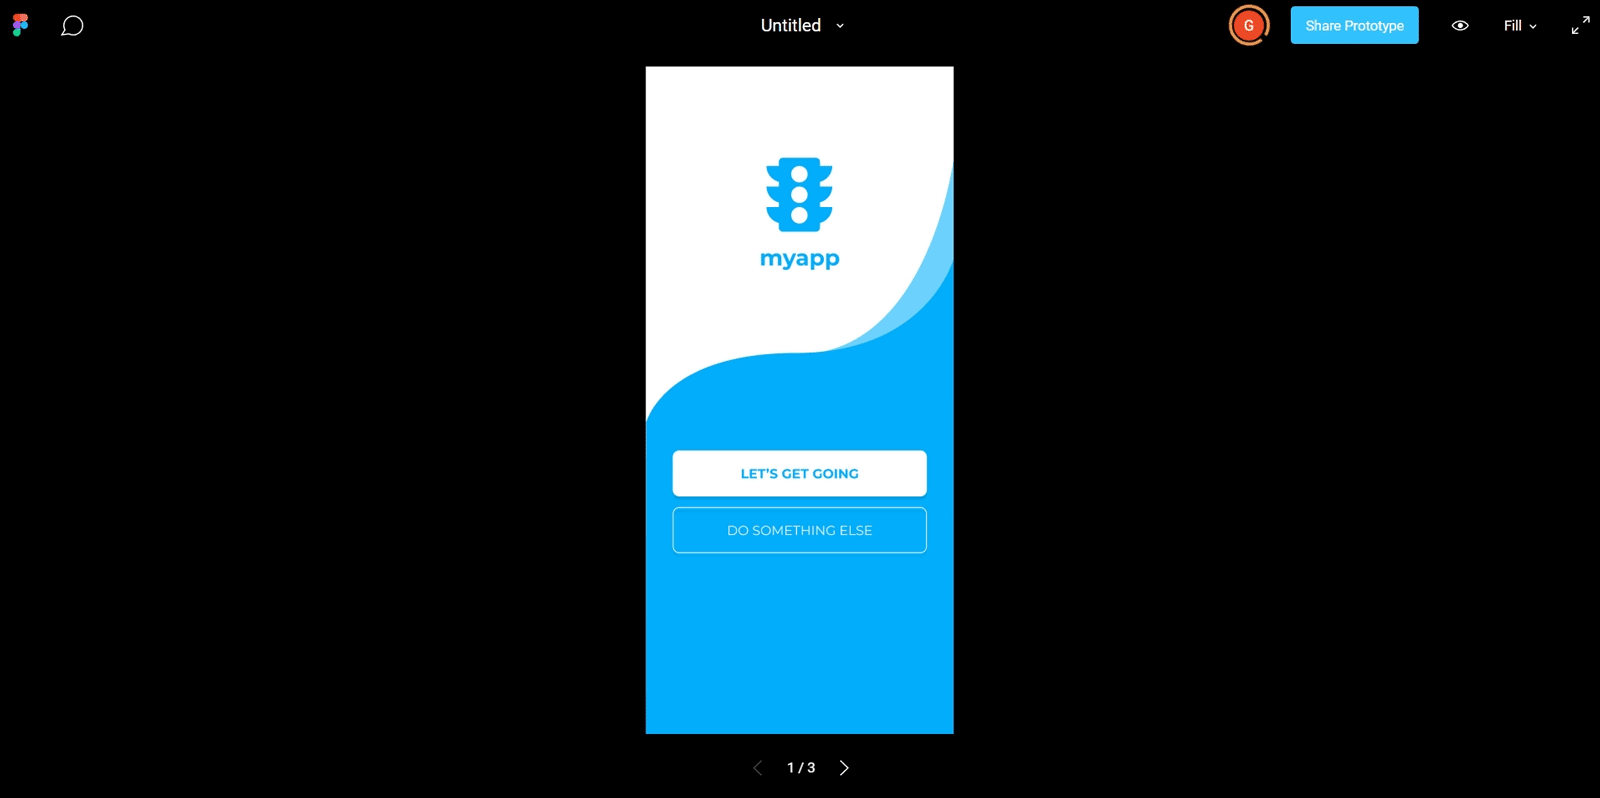
Playing the Prototype
Once you've created all of the necessary connections, press the Play icon in the top toolbar. You can now use the prototype!
As you can see, for being an app that's entirely web-based, Figma is very powerful. It's even better that it's free for individual use.