In today's world, technology is rapidly advancing and one of the most interesting developments is artificial intelligence (AI). AI can do extraordinary things and in this post, we're going to explore how AI can help us create vector illustrations.
Are you ready to dive in and learn how to create your own AI generated vector illustration? Let's get started!
Step 1: Generating the Art
To begin with, we need to generate the art. For this, we're going to use Mid-journey, an online AI-powered illustration generator. The first step is to imagine a simple cartoon cube with an angry face as our Vector 2D illustration prompt. Mid-journey will then come up with four different results based on the prompt.
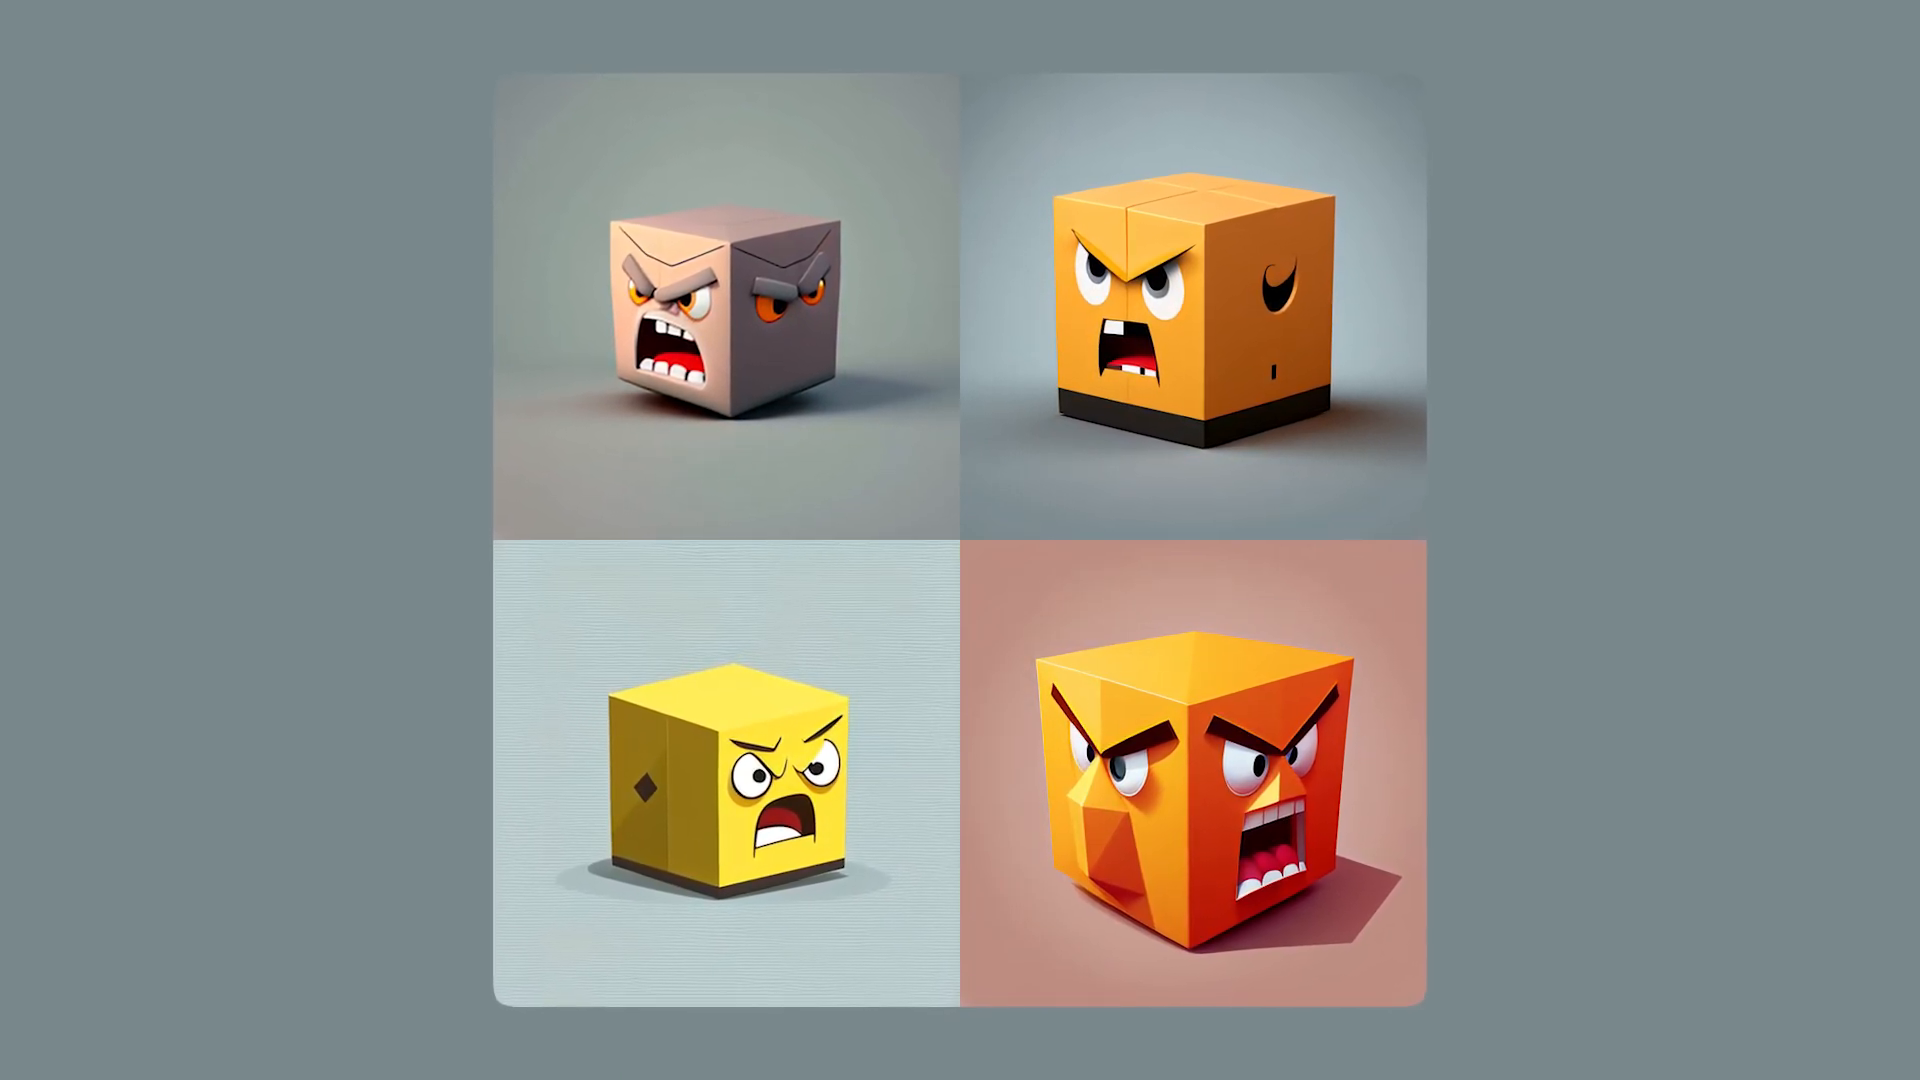
We issued slight variations of that same prompt a few other times, adding pen and ink to the prompt and low polygon to the prompt. What's interesting is that the simpler the image, the better it is, since it translates to a lower file size - especially important if you want to use it on the web.
Step 2: Vectorizing the Art
Now that we've generated our art, it's time to vectorize it. There are a lot of tools that can help us in this process, but for this tutorial, we're going to use Adobe Illustrator as it produces the best results.
Open the image in Illustrator and use one of the Image Tracing presets. We found that the 16 colors preset produces excellent results. Once you've image traced the image, click Expand and voila! Your image is now a Vector.
However, it needs to be cleaned up, so we create our own shape to flatten out the edges of the cube, using the Pathfinder divide option.
Step 3: Reducing the File Size
If you try to export this as an SVG right now, it will be a massive 80+ kilobytes. We can reduce the number of anchor points to achieve a smaller file size using Illustrator's 'Simplify' tool. The aim is to maintain the integrity of the shape while reducing the number of anchor points.
We went from 2400 points to 1400, which is a significant reduction. By exporting it again as an SVG and importing it into a tool called SVG OMG, we can further reduce its size. After saving, it's now a much more reasonable 20 kilobytes.
Step 4: Adding Animation
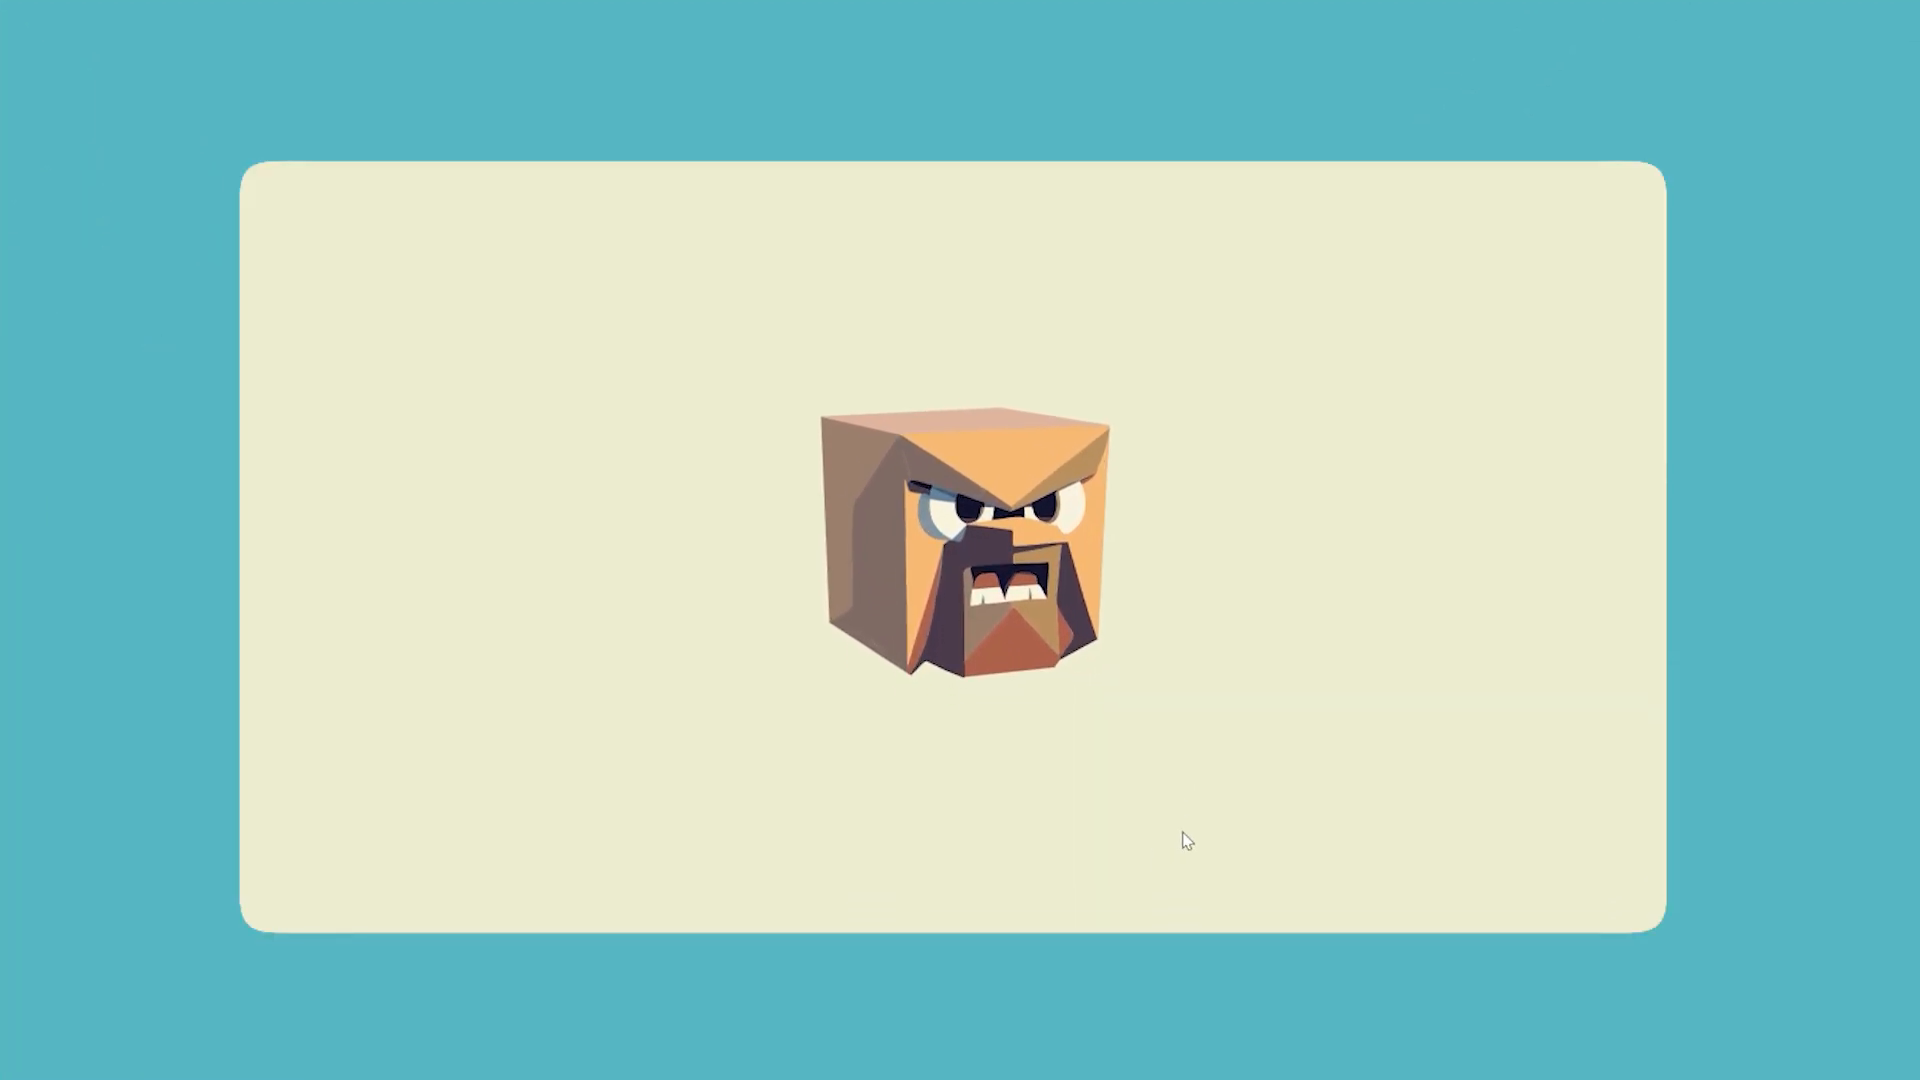
At this point, we're free to use the AI generated vector illustration on the web. We can further enhance it by adding a little animation, making it a floating cube with an angry face.
Conclusion
AI has the potential to revolutionize many industries, including design. With AI-generated illustrations, we can create complex graphics easily and quickly. In this blog, we showed you how to generate AI-powered vector illustrations and reduce the file size, making it ideal for web use. We hope this article was helpful and has inspired you to explore the vast capabilities of AI-generated designs!
If you're interested in learning more about UX/UI, CSS or other topics, check out Designcourse.com, a custom interactive platform where you can learn while having fun.